Getting the Image from Google
In a new tab search for the author and book title (or whatever image you are looking for) in Google. Once you do this click on the “Images” link in the upper-left hand corner next to “Web” and you will see an array of images. Pick one that is roughly between 350-400px wide. Click through this image until you see it as a stand alone link (ending in something like ,jpg ,gif or .png) and then right click—>”Save Image As” and download it to your desktop.
After you’ve downloaded the image, search for the book on Amazon and copy the URL of the book’s Amazon page. Then go page to the “Edit Post” tab and follow the instructions below.
Uploading and inserting an image
To upload and insert an image from your hard drive into a post or page go to ”Posts” and ”Add New” and look for the “Add Image” button that looks like a picture canvas.
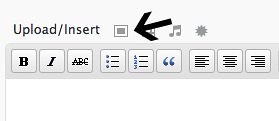
When you click on that button, a dialog box will appear offering you the option to upload an image from your hard drive. Or, if you want to link directly to an image that is already online, you can click on the “From URL” tab. Once you have located your file (whether on your hard drive or online) click on the “Upload” button. After that you will receive a dialog box like the one pictured below.
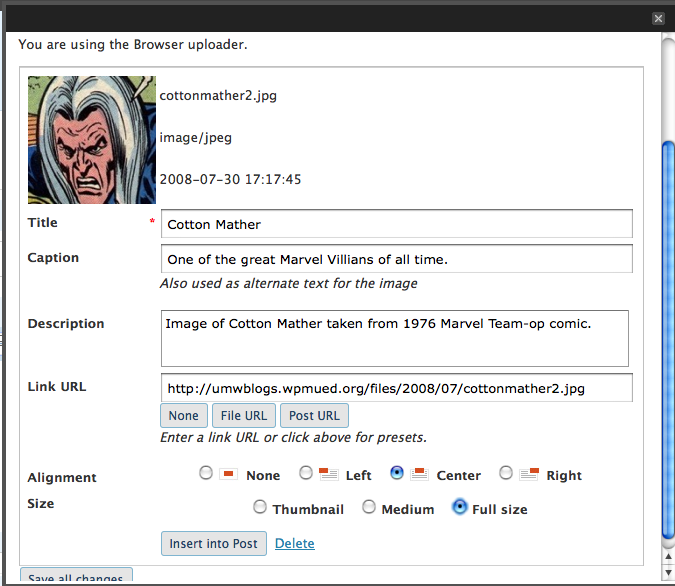
In this dialog box you should add a title as well as the appropriate link (to Amazon or what ever other site you want the image to link to). Be sure the image is aligned correctly (to the left, right or centered), also you can change the size of the image to thumbnail, medium, or original size. When all the settings are to your liking you can just click the “Insert into Post” button and it should appear in your post.